


How-To Tips
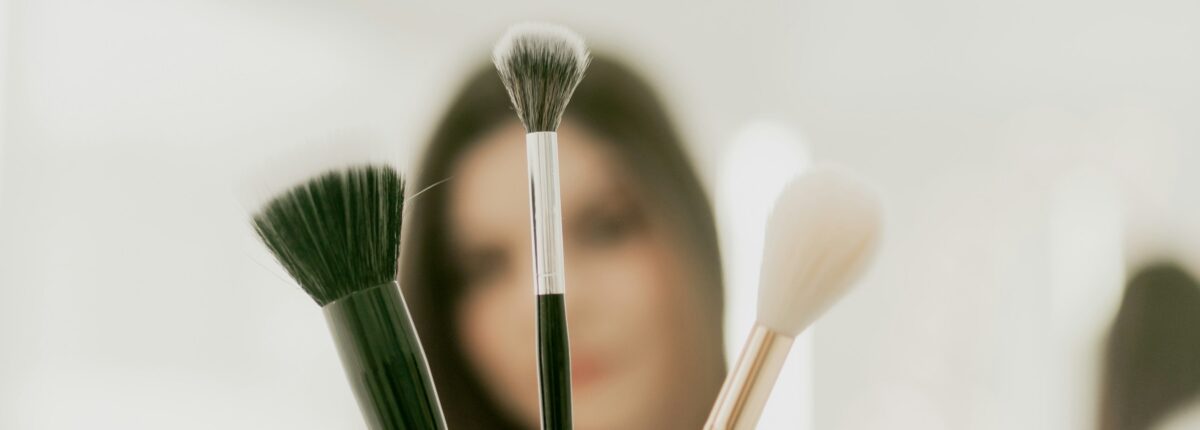
How to Clean Makeup Brushes: Things I Wish I’d Known Earlier

Keeping your makeup brushes clean is essential for both your skin’s health and the longevity of the brushes themselves. By taking the time to clean your brushes regularly, you can ensure better hygiene, improved makeup application, and a longer lifespan for your tools. Don’t overlook the importance of this simple yet vital step in your beauty routine! Here’s a step-by-step guide on how to effectively clean your makeup brushes.
Why Cleaning Your Brushes is Important
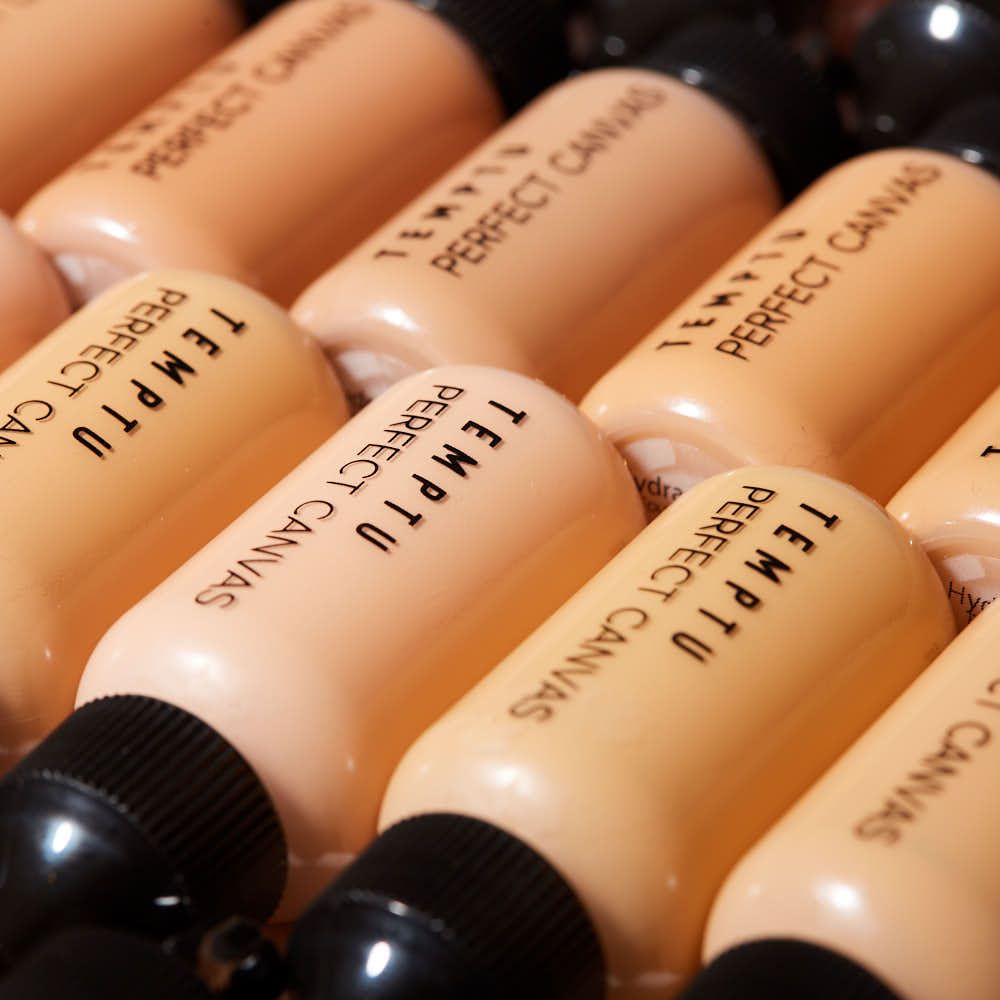
Makeup brushes are essential tools for beauty enthusiasts, but they can also become a breeding ground for bacteria if not properly maintained. It’s important to be aware of the consequences of using dirty brushes and the importance of keeping them clean. Cleaning your brushes helps prevent the buildup of bacteria, oils, and old makeup. Dirty brushes can lead to breakouts, irritation, and uneven application of your makeup. Regular cleaning also keeps your brushes in good condition, extending their lifespan.
- Bacterial Buildup
Dirty makeup brushes can harbor a plethora of bacteria, including Staphylococcus and E. coli. These bacteria can lead to skin infections, acne breakouts, and other skin irritations. When you use dirty brushes, you risk transferring these harmful microorganisms onto your skin, aggravating existing conditions or causing new ones. - Product Inefficiency
Using unclean brushes can affect the application and finish of your makeup. Residue from old products can mix with new ones, leading to uneven application and an undesirable look. Clean brushes ensure a smooth application, allowing you to achieve the flawless finish you desire. - Diminished Brush Lifespan
Neglecting to clean your brushes can shorten their lifespan. Makeup residue, oils, and dirt can damage the bristles and the brush itself, leading to a decline in performance over time. Regular cleaning not only maintains the quality of your brushes but also saves you money in the long run. - Allergic Reactions
If you have sensitive skin or allergies, using dirty brushes might trigger a negative reaction. Old makeup products that have been sitting in your brushes can break down and become irritating. Regularly cleaning your brushes minimizes the risk of allergic reactions and keeps your skin healthy.
Step-by-Step Cleaning Process
What You’ll Need to Clean Brushes
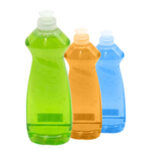
Brush Cleaner or Gentle Soap
(i.e. baby shampoo or dish soap)

Olive Oil
(for very dense brushes)
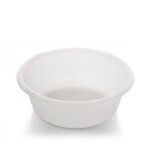
A Clean Bowl or Plate
A Clean Towel

Lukewarm Water
- Rinse the Bristles
Start by rinsing the bristles of your brush under lukewarm water. Make sure to keep the bristles pointing downward to avoid water running into the ferrule (the metal part) which can weaken the glue. - Create a Cleaning Solution
In a bowl, mix a few drops of your brush cleaner or gentle soap with a little olive oil (if using). The oil can help break down makeup residues, especially from cream products, while the soap cleans. - Clean the Brushes
Dip the bristles into the cleaning solution and gently swirl the brush in your palm or the bowl. Be careful not to rub too hard, as this can damage the bristles. - Rinse Thoroughly
After cleaning, rinse the brush bristles under fresh lukewarm water until the water runs clear. Again, keep the brush pointing downward to keep water from entering the ferrule. - Reshape and Dry
Gently squeeze out excess water from the bristles and reshape them to their original form. Lay the brushes flat on a clean towel to dry. Avoid standing them up in a cup, as this can lead to water seeping into the ferrule.
Frequency of Cleaning
Aim to clean your brushes at least once a week, especially if you use them daily. For more infrequent use, a monthly deep clean will suffice. Spot cleaning brushes in between uses is also a good idea.
By following these simple steps, you can ensure that your makeup brushes stay clean and continue to perform at their best, leading to a flawless application every time. If you prefer, you can purchase a popular makeup brush cleaner. Happy cleaning!
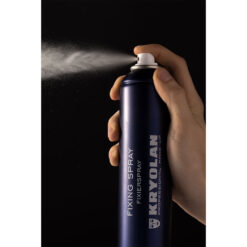
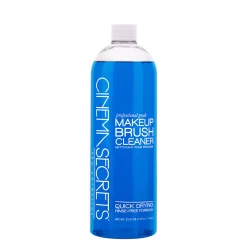
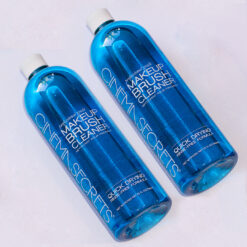
Trending Products